Panel: Instrument Selection
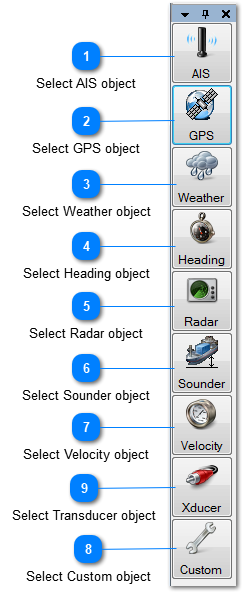
The Instrument Selection panel contains a number of large buttons for selecting the required object.
Clicking a button will open a selection window where you either choose to create a new object of the required type or to open an existing object of that type.
(Remark: You can achieve this also via the NMEA Object Explorer panel)
Observe that finding the right object is much easier if you assign a tag to it as in the examples below.
 Select AIS object
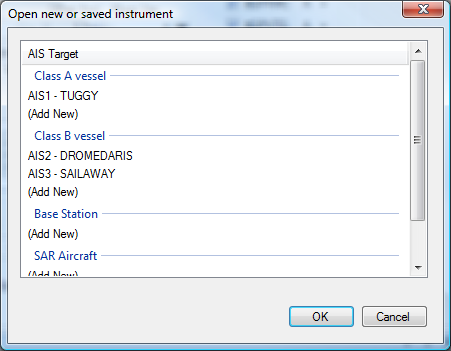
This will open a new dialog box as shown below:
You either can open an existing AIS target by double clicking on the name (e.g. double click on DROMEDARIS) or select the name and then click the OK button.
A new target can be defined by double clicking the "(Add New)" line within the appropriate target class.
|
|
 Select GPS object
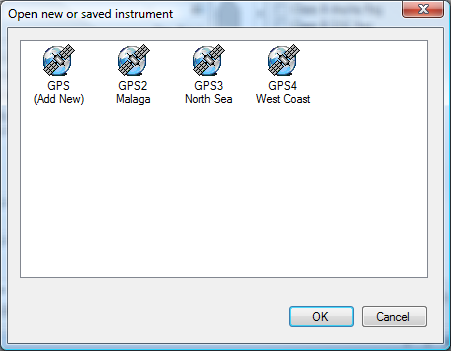
Clicking this button will open a dialog box to select a GPS module as below:
You either can open an existing GPS by double clicking on the name (e.g. double click on "West Coast") or select the appropriate icon and then click the OK button.
A new GPS can be defined by double clicking the "(Add New)" icon within the appropriate target class.
|
|
 Select Weather object
See above, similar to GPS
|
|
 Select Heading object
See above, similar to GPS
|
|
 Select Radar object
See above, similar to GPS
|
|
 Select Sounder object
See above, similar to GPS
|
|
 Select Velocity object
See above, similar to GPS
|
|
 Select Custom object
See above, similar to GPS
|
|
 Select Transducer object
See above, similar to GPS
|
|